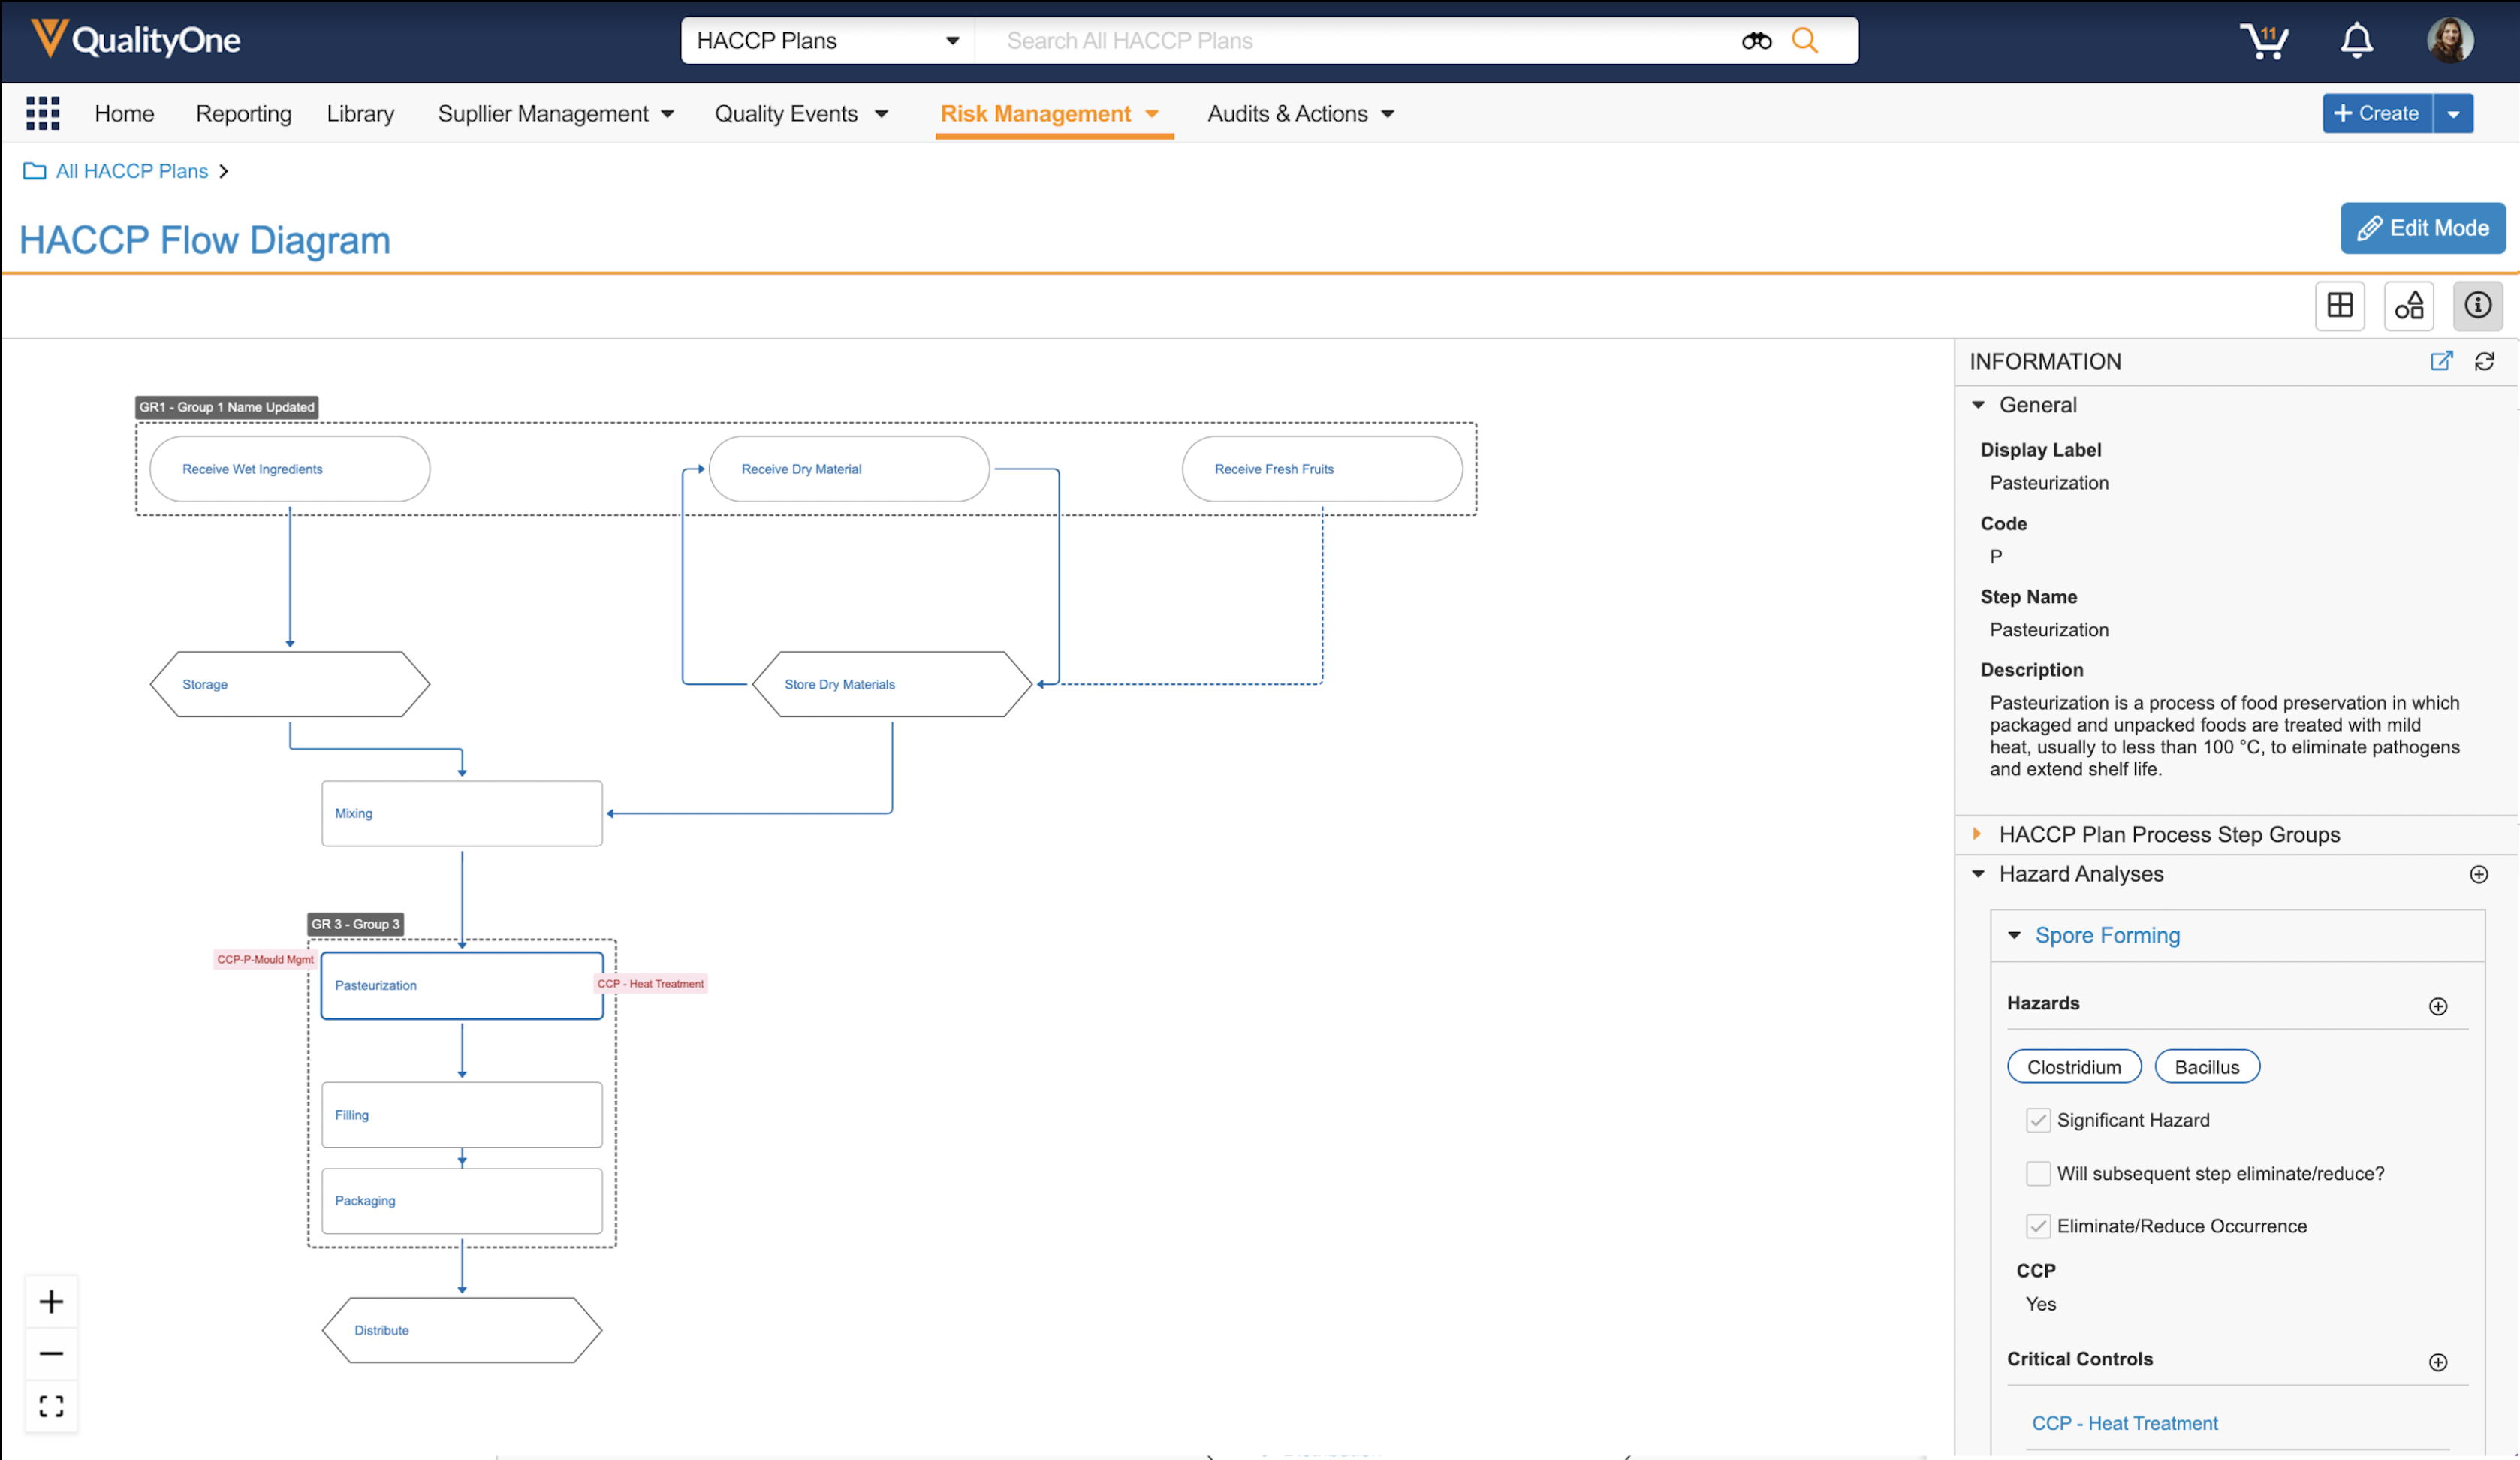
QualityOne Vaults provide a HACCP Flow Diagram to view and manage a HACCP Plan as part of your food safety processes. The HACCP Flow Diagram lets you visualize a HACCP Plan from start to finish, and perform hazard analysis for your HACCP Plan, in an easy-to-use visual interface.
Depending on your Admin’s configuration, object, field, and section labels may appear differently than the labels mentioned in this article.
Viewing the HACCP Flow Diagram
You can launch the HACCP Flow Diagram for a HACCP Plan in the following ways:
- Navigating to the HACCP Plan record and either selecting Launch Process Flow Diagram (
 ) from the record’s All Actions menu, or clicking the Launch Process Flow Diagram icon on the record.
 - Navigating to the list of HACCP Plans in your Vault, opening the Actions menu next to a HACCP Plan name, and selecting Launch Process Flow Diagram.
After launching the HACCP Flow Diagram, you can see and interact with the following elements:
- The diagram canvas at the center of the HACCP Flow Diagram displays steps, connections, and groups in a HACCP Plan. See About HACCP Flow Diagram Symbols for more information about the symbols on the canvas.
- You can view information about a selected diagram element and its related hazard analyses by clicking the Additional Information (
 ) icon on the right side of the diagram to open the Information panel.
 - You can add new steps directly from this panel when the diagram is in edit mode by clicking the Flowchart Shapes (
 ) icon at the top of the diagram.
 - Click the Gridlines (
 ) button in View or edit mode to display the grid background view.
 - Click the Completeness Check (
 ) icon to see the hazard analysis completeness status on all steps and groups on the canvas and all Process Hazard Analyses displayed in the Information panel.
 - Click the Search Diagram () icon to search for steps in your HACCP Plan by display label. When you search for a step, Vault directs you to the first step that matches your search input.
- Open the Actions menu at the top of the diagram to run the Auto-number Process Steps and Generate HACCP Plan Report actions.
- Click the fit view (
 ) icon to fit the symbols within the diagram canvas.
 - Zoom in and out using the + and - symbols on the diagram.
- Click the name of the HACCP Plan at the top of the diagram to open the HACCP Plan record in a new browser tab.
- The larger structure of the HACCP Flow Diagram displays in a minimap at the bottom of the diagram canvas. Click and drag within the minimap to navigate to different sections of the HACCP Plan.
About HACCP Flow Diagram Symbols
The canvas of the HACCP Flow Diagram displays various symbols that represent object records stored in Vault. Editing the information associated with symbols on the HACCP Flow Diagram updates the data in corresponding object records. For instance, clicking and dragging a new rectangle onto the HACCP Flow Diagram from the Diagram Symbols panel creates a new corresponding HACCP Plan Process Step object record of Process Step type in Vault.
Note: The term “steps” refers to Process Step, Material Step, and Logistics Step type HACCP Plan Process Steps displayed on the HACCP Flow Diagram. In some cases, Connector type HACCP Plan Process Steps have distinct functionality from other types of HACCP Plan Process Steps, and are only included where explicitly noted.
HACCP Flow Diagram Legend
Different shapes on the diagram represent different elements:
| Shape | Description |
|---|---|
 |
Rectangles with record labels on the diagram canvas represent Process Steps in a HACCP Plan. |
 |
A Material Step on the diagram canvas represents a step in which a material is introduced or processed. Material Steps display a list of ingredients necessary for the step; hover over the step to see more ingredients. |
 |
A Logistics Step on the diagram canvas represents a step in which a material is stored or distributed. These steps display a list of necessary materials for the step; hover over the step to see more materials. |
 |
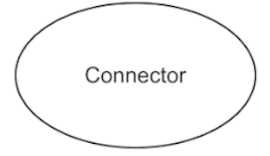
Connectors start and end the flow, and connect two (2) modular diagrams together. |
 |
Lines between steps on the diagram canvas represent the connections between steps in a structured process. The arrow at the end of a connection points to an output step. |
 |
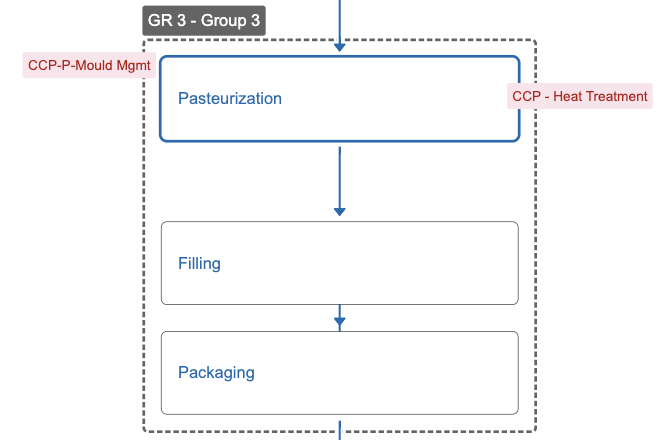
Dotted outlines with a label enclosing at least one (1) step represent groups of steps. Clicking on a group's label or outline selects it and highlights its steps. Groups cannot be optional. |
 |
A dotted line border on any type of step indicates it is optional. |
 |
A dotted line connection indicates it is optional. |
About the Information Panel
The Information panel lets you view and update information about a selected symbol on the HACCP Flow Diagram.
To launch the Information panel, click the Additional Information (![]() ) icon; when a diagram element is selected, the panel displays information about that element. Depending on the diagram element you select, the Information panel displays the following sections:
) icon; when a diagram element is selected, the panel displays information about that element. Depending on the diagram element you select, the Information panel displays the following sections:
- General: The General section displays information for the selected step or group.
- HACCP Plan Ingredients: When you select a Material Step on the diagram canvas, the HACCP Plan Ingredients section displays up to 15 ingredients associated with the selected step. You can click on each ingredient to view and modify the corresponding HACCP Plan Ingredient record in a new browser window. If there are more than 15 ingredients associated with a selected Material Step, you can click a link in the card that displays when you hover over the record count indicator at the top of the section to view more ingredients.
- HACCP Plan Process Step Groups: When a selected step is part of multiple groups, the HACCP Plan Process Step Groups section displays up to five (5) groups to which the step belongs.
- HACCP Plan Process Steps: When you select a group on the diagram canvas, the HACCP Plan Process Steps section displays up to ten (10) associated steps.
- Hazard Analyses: When expanded, the Hazard Analyses section displays up to 15 Process Hazard Analysis records for a selected step or group. You can scroll through up to 500 Process Hazard Analyses in the Information panel using the (>) and (<) icons and filter records by hazard classification and hazard anlaysis completeness status using the filter () icon. Additionally, you can expand each Process Hazard Analysis record to see information for hazards and control measures and perform hazard analysis for steps and groups.
Click Refresh (![]() ) at the top of the Information panel to see the latest changes, and click the (
) at the top of the Information panel to see the latest changes, and click the (![]() ) icon to open the object record for the selected diagram element in a new window. You can adjust the size of the Information panel by clicking and dragging the edges.
) icon to open the object record for the selected diagram element in a new window. You can adjust the size of the Information panel by clicking and dragging the edges.
Editing the HACCP Flow Diagram
To enter edit mode on a HACCP Flow Diagram, launch the diagram and click the Edit Mode button. You will stay in edit mode until you save your changes. While in edit mode, Vault periodically autosaves your changes in the diagram; the timestamp of when the diagram last autosaved displays on the diagram, if applicable. You must click Save when you are finished editing the diagram.
Adding & Editing Process Steps
When in edit mode, you can add, update, and delete steps. To do this:
- Open the Diagram Symbols panel.
- Click and drag a symbol from the Diagram Symbols panel to the desired position in the HACCP Flow Diagram, or click inside an existing step on the diagram to select it.
- Do one (1) of the following:
- Click the Actions menu on a Process Step or Logistics Step and select Edit. Do one (1) of the following:
- Click on the label of the step to open a drop-down list that lets you select an existing reference Process Step from the library or open a window to create a new reference Process Step.
- Click the binoculars (
 ) icon to open a new window that lets you search for an existing reference Process Step or create a new reference Process Step.
- Select Edit from the Actions menu on a Material Step to open a new window from which you can select or create new Ingredients.
- Select Edit from the Actions menu on a Connector to update the step’s name.
- Select Optional from the Actions menu on a required step of any type to make it optional. Select Required on an optional step to make it required.
- Select Delete from the Actions menu on any type of step to delete the step and its related connections from the diagram and from Vault. This will not delete any related reference steps from the library.
- Click the Edit (
 ) icon in the Information panel to update information about a selected step.
 - Select a Material Step and click the Add (+) icon in the Information panel next to the Ingredients section header to launch a new window from which you can select existing ingredients or create new ingredients.
- Click and drag a step to move it to a new position in the diagram.
- Click the Actions menu on a Process Step or Logistics Step and select Edit. Do one (1) of the following:
- Click out of the step when you are done editing to deselect it.
- When you are done making changes to the diagram, click Save.
Adding & Editing Connections
When in edit mode, you can add, update, and delete the connections between steps. To do this:
- Click one (1) of the four (4) connection handles on the border of the desired input step’s node and drag your cursor to the connection handler of the desired output step, or click on an existing connection on the diagram to select it.
- Do one (1) of the following:
- To update information about the connection, open the Information panel. Click the Edit (
 ) icon next to the General section header, then save your changes.
 - To move the connection between two (2) steps on the diagram, click and drag it.
- To make a required connection optional, click the Actions menu on the connection and select Optional. To make it required, select Required on an optional connection.
- To reposition the connection’s line, click and drag a segment of the connection not attached to a step.
- To delete a connection, click the Actions menu on the connection and select Delete.
- To update information about the connection, open the Information panel. Click the Edit (
- To deselect the connection, click an empty space on the diagram canvas or select another diagram element.
- When you are done making changes to the diagram, click Save.
Editing Process Step Groups
When in edit mode, you can view and update information for groups. To do this:
- Select a group on the diagram canvas by clicking on its label.
- Open the Information panel. Click the Edit (
 ) icon next to the General section of the Information panel to update information about the group, including the name that displays on the diagram.
 - When you are done making changes to the diagram, click Save.
To create a new group, follow the instructions in Working with HACCP Plans.
Locking & Unlocking the HACCP Flow Diagram
To prevent updates to the HACCP Flow Diagram, select the Lock HACCP Flow Diagram action from the All Actions menu of a HACCP Plan record. If configured by your Admin, running this action will make the HACCP Flow Diagram available in view mode only to all users with the appropriate permissions. When a HACCP Plan’s HACCP Flow Diagram is locked, users will not be able to create the following new diagram elements:
- HACCP Plan Process Steps
- HACCP Plan Ingredients
- HACCP Plan Process Step Connections
The Unlock HACCP Flow Diagram action re-enables edit mode on the diagram.
Automatically Renumbering Process Steps on the HACCP Flow Diagram
If configured by your Admin, you can run an action that updates the numbering of the steps on the HACCP Flow Diagram. Once the custom action has been implemented by Veeva Services, you can execute it to apply business rules tailored for your organization’s business processes to update the numbering on steps, eliminating the need to manually renumber due to additions and removals.
To auto-number HACCP Plan Process Steps on the HACCP Flow Diagram, do the following:
- Navigate to the appropriate HACCP tab or to Business Admin > Objects > HACCP Plans.
- Select a HACCP Plan and launch the HACCP Flow Diagram.
- Click the Actions menu at the top of the diagram.
- Select Auto-number Process Steps. Depending on your organization’s configuration, this action’s label might differ.
- Confirm in the dialog that you wish to run the action.
- The diagram is locked while the action runs. When the auto-numbering is complete, Vault sends you a notification. You can then refresh the diagram to view the results.
Note: Contact your Veeva Representative for more information about enabling this action.
Generating HACCP Documents
You can generate a binder containing documents from a HACCP Plan in your Vault. Run the Generate HACCP Plan Report action from a HACCP Plan’s HACCP Flow Diagram to generate a source file and PDF rendition of the HACCP Flow Diagram, as well as a Merge Fields document with data from the HACCP Plan. When the action completes, both documents are available in a binder in your Vault Library. Each time you run the action, Vault generates a new binder and associated documents.
To generate HACCP documents, do the following:
- Navigate to the appropriate HACCP tab or to Business Admin > Objects > HACCP Plans.
- Select a HACCP Plan and launch the HACCP Flow Diagram.
- Open the Actions menu at the top of the diagram and click Generate HACCP Plan Report.
- Select a Template in the dialog and click Generate.
Vault may take a few minutes to generate your documents. When your documents are ready, Vault displays a message with a link to a binder containing the generated documents.
Limitations
- Vault does not save updates to the HACCP Flow Diagram if you attempt to reposition more than 500 steps simultaneously.
- Vault cannot display the HACCP Flow Diagram for HACCP Plans that exceed the following limits:
- More than 1,000 Ingredient Involved records
- More than 1,500 total HACCP Plan Process Steps, HACCP Plan Process Step Connections, and HACCP Plan Process Step Groups
- More than 2,000 Process Hazard Analysis, HPPSG - HPPS, HPPS - PHA, PHA - HHC, or HACCP Hazard Control records
